We wrote this page about the second half of how neodymium magnets are made. It is the half that decides the part you receive. The first half only gets you a sintered blank. Machining, coating, magnetisation and inspection turn it into the part on your drawing.
These four steps set the tolerance you can hold, how long the coating survives, and how much field the part keeps in service. They also answer most of the questions that arrive later. Which step sets the tolerance you are paying for? Why did a coating pass inspection and then fail in the field? What can you check on a shipment without a lab? Each section below takes one step and shows what it leaves on the part in your hand.
How Neodymium Magnets Are Made: the Route in One Line
Rare-earth ore, refining to oxide, strip-cast alloy, hydrogen decrepitation, jet milling to a fine powder, pressing in a magnetic field, sintering, tempering, machining, coating, magnetisation, inspection and packing.
The first half follows the standard powder metallurgy route, and two things about it matter later. The powder must never meet oxygen, and the pressed compact is not the finished size. Everything after sintering is what turns a blank into the part on your drawing.
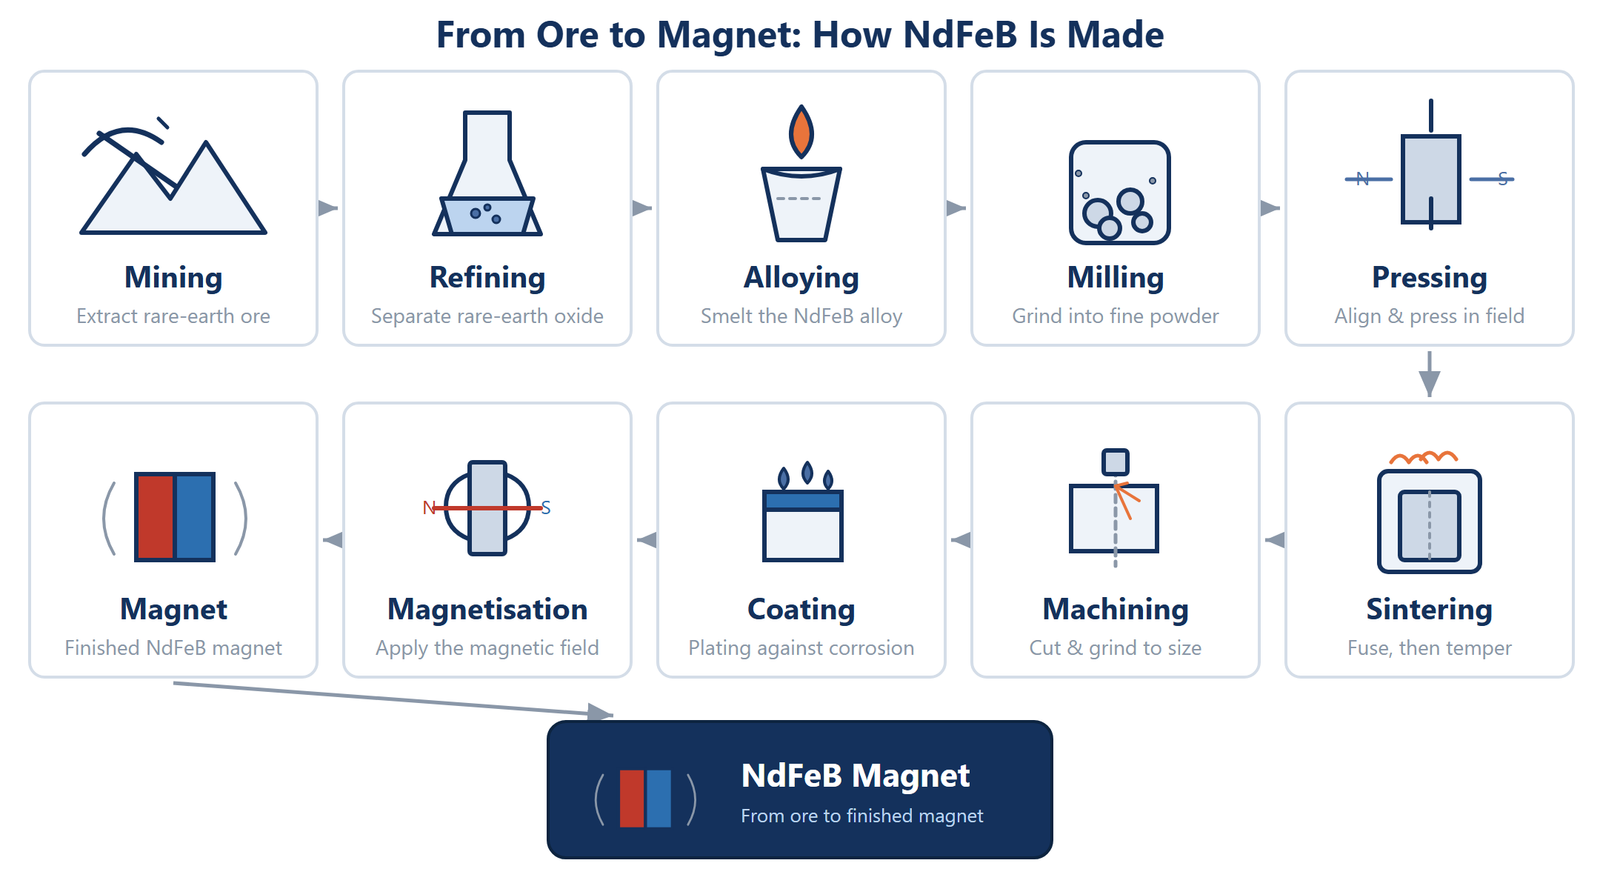
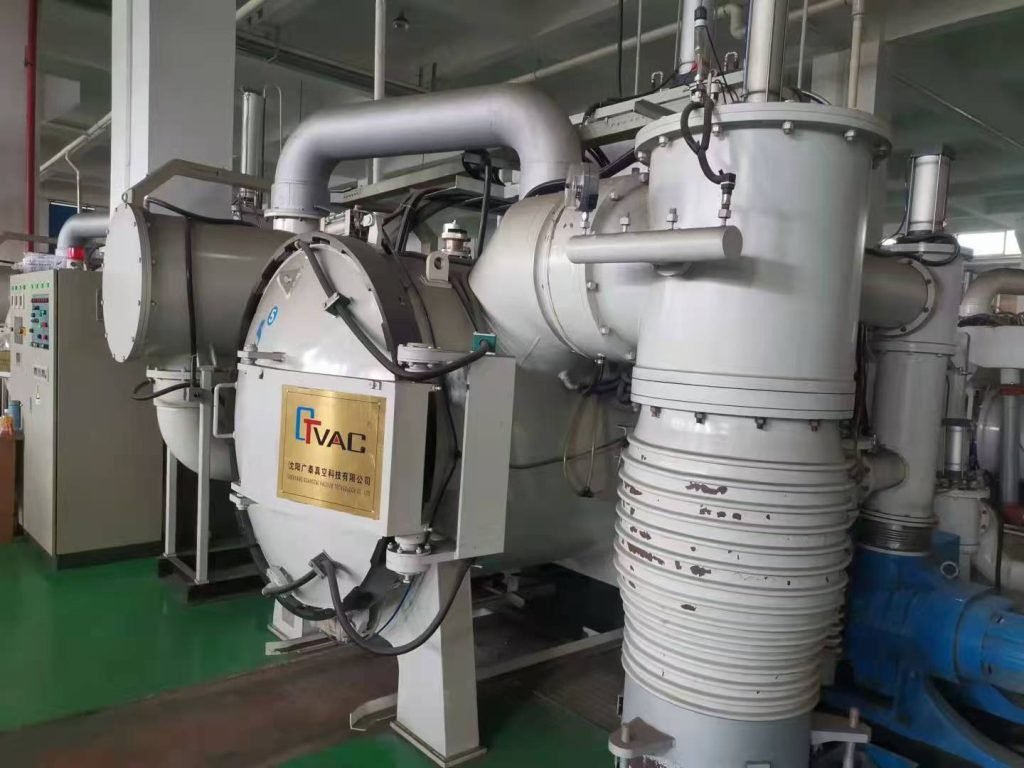
Sintering and Tempering: Where the Grade Is Set
A pressed compact is fragile and barely magnetic. Sintering turns it into a dense solid, and it also shrinks the part in every direction. No dimension is final when it leaves the furnace: the die sets an oversize, and the grinding shop sets the size you ordered.
Tempering comes next, and it is the step that decides how the magnet behaves when it gets hot. Two parts can show the same Br on a bench at 20 °C and behave completely differently at 150 °C, because coercivity is fixed here, not by the grade label.
What you can do with that: ask for Br, Hcb and Hcj measured on your parts. A grade is a range, and choosing a grade is about picking the right range. The test report is about the part you actually have.
Machining: Where the Tolerance Comes From
Sintered NdFeB is hard and brittle, closer to a ceramic than to steel. You do not turn it on a lathe. It is cut and ground with diamond tooling: multi-wire saws slice a sintered block into plates, double-side grinders set the thickness of both faces at once, and the outline is finished on surface grinders.
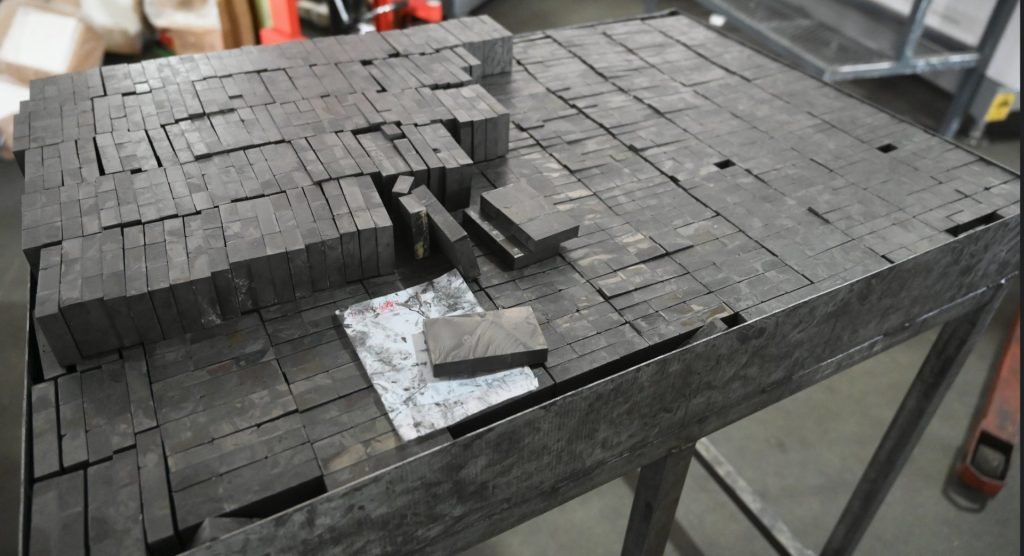
The order of those operations matters to your drawing. Thickness is usually the dimension that settles first, because a double-side grinder holds it well. Outlines, holes, steps and tight corners cost more: they need fixtures, slower passes and more handling of a brittle part.
Chamfering is not cosmetic
A freshly ground edge is sharp. Plating builds up thin on a sharp corner, and a sharp corner is where a chip starts when the part is handled, tumbled or press-fitted. Chamfering moves the impact away from the corner and gives the coating something to wrap around. It is the cheapest insurance in the whole process, and it is the step most drawings forget to specify.
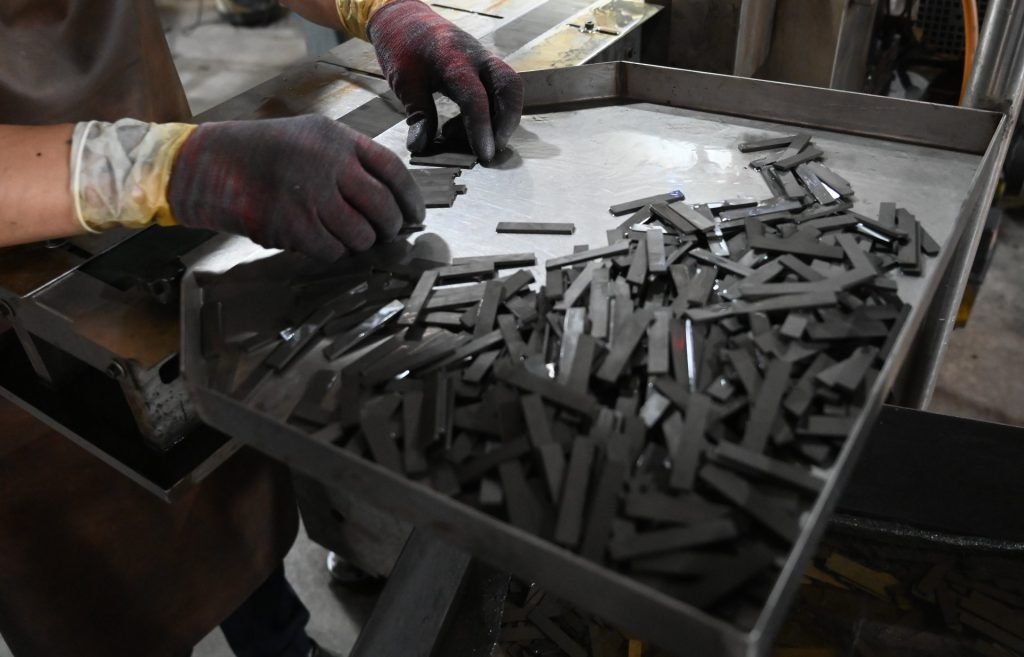 Before: sharp sintered edges
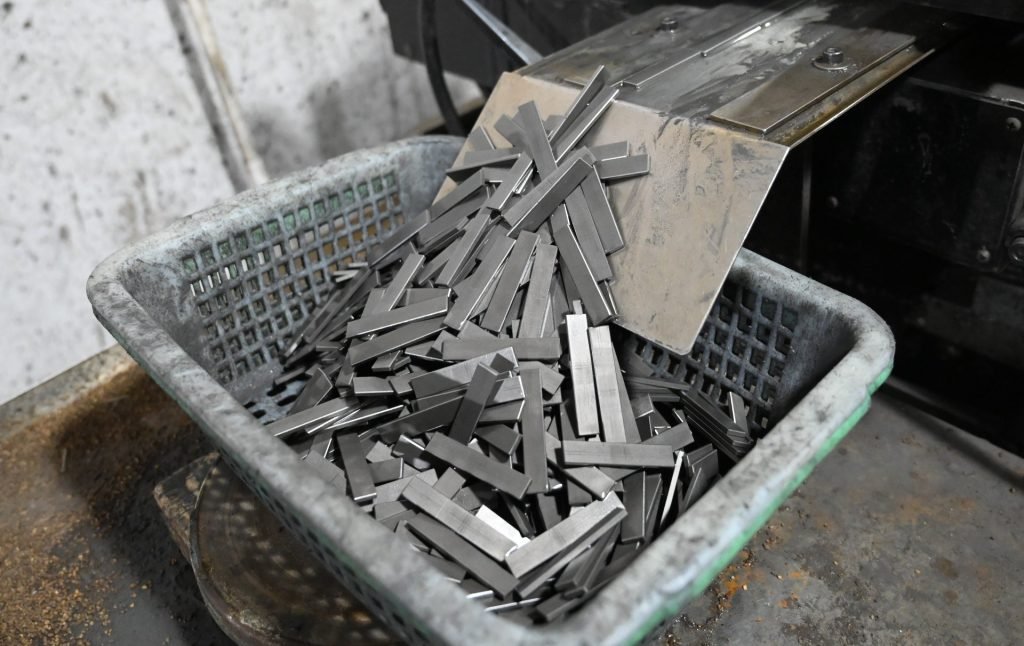 After: chamfered in the drum
After grinding, parts are demagnetised and washed before plating. Grinding swarf is magnetic and very fine, so a speck left on the surface makes the plating blister later. You will not see it in the box. You will see it in the field.
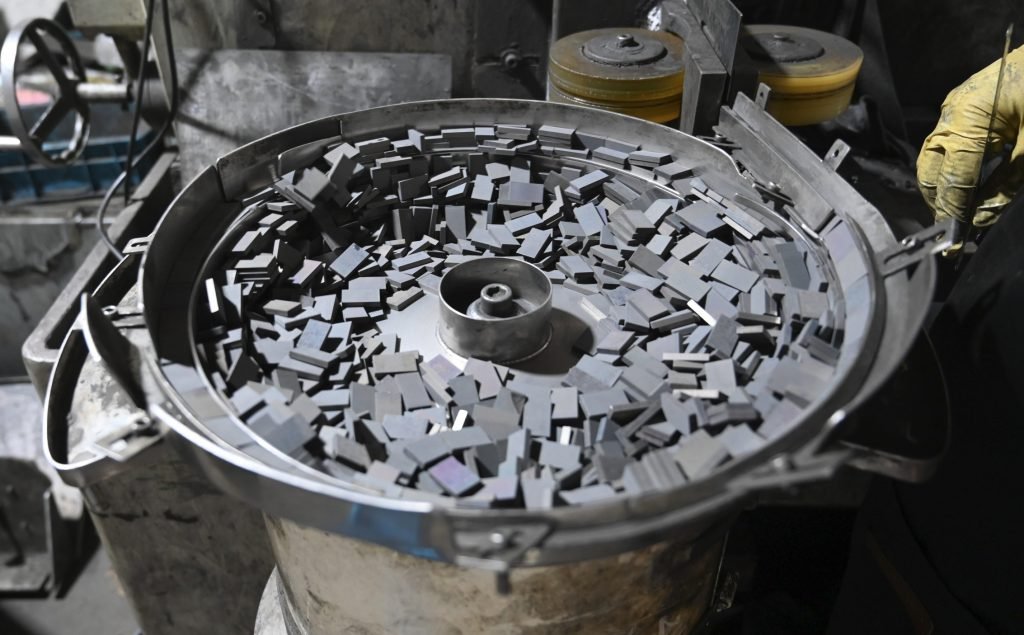
Our standard tolerance is ± 0.02 mm on the dimensions that matter. Tighter is possible, but it is the fastest way to raise the price. Send us the critical dimension, and leave the rest at general tolerance.
Coating: Thickness, Adhesion and Salt Spray
Sintered NdFeB is roughly two thirds iron, so a bare part corrodes quickly in ordinary air. The coating is not a finish that makes the magnet look better. It is the part of the design that decides how long the magnet lasts.
Ni-Cu-Ni is the default for three reasons. Nickel bonds to the sintered surface and gives hardness. The copper layer is ductile, so a single pinhole cannot travel straight through to the magnet. The outer nickel takes wear and keeps the appearance. Zinc costs less and is fine in dry indoor assemblies. Epoxy is thicker and stands up to chemicals and humidity, which is why it turns up on motors and outdoor signage. We compare them in more detail in the coating guide.
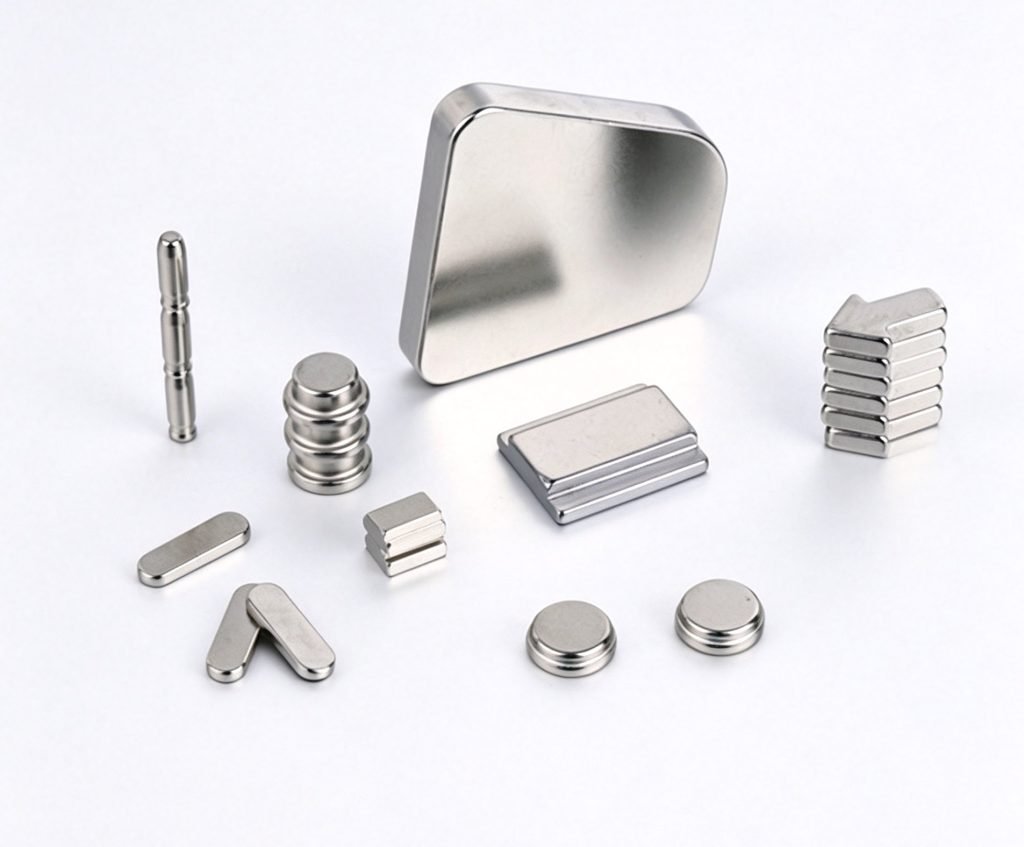
We coat to the layer thickness the application asks for and test corrosion with salt spray rather than by eye. Two cautions from experience. A thicker coating is not automatically better, because it changes the fit and the effective air gap. And a coating report is only useful when it names the hours and the failure criterion, not just the word “passed”.
Magnetisation: the Last Step, and the One You Can Undo
Plating a magnetised part is chaos, so magnetisation is the last step before packing. The fixture decides the pattern: axial, diametric, multi-pole or skewed all come from how the coil and the fixture are built, not from the magnet itself.
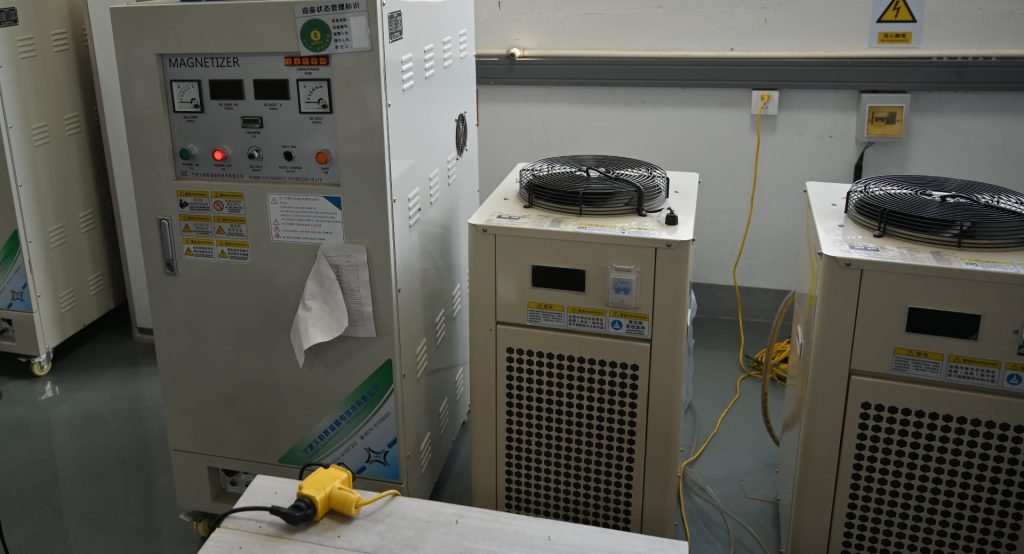
It is also the step a designer can undo by accident. A part that runs above its working temperature, or sits in a strong opposing field, will lose flux permanently. That is a design question rather than a factory one, and we wrote up the calculation behind it in this note on losing flux at temperature.
Inspection: Four Checks You Can Ask For
A shipment should arrive with data, not only a promise that the grade is right. Four checks cover most of what can go wrong, and all four can be measured before the box is closed.
| Check | How we measure it | What to ask your supplier for |
|---|---|---|
| Magnetic flux | Flux meter, on every batch, against the approved sample | A per-batch flux value, not just the grade name |
| Dimensions | Vision measuring machine for the outline; double-side grinder for thickness | The measured value of your critical dimension |
| Coating | Layer thickness gauge and salt spray test | Thickness in µm, plus the salt spray hours and the pass criterion |
| Appearance and polarity | Automated optical inspection for chips and cracks; laser marking of the N pole | The chip and crack criteria, and pole marking on the part itself |
Two of these deserve a word more. Flux is the number that matters most to a design, because it is what your sensor or your motor actually sees, and we measure it on your geometry instead of quoting it from a grade table. Pole marking is the cheapest way to prevent the most expensive mistake in assembly: a magnet fitted the wrong way round, usually discovered only after the unit is built.
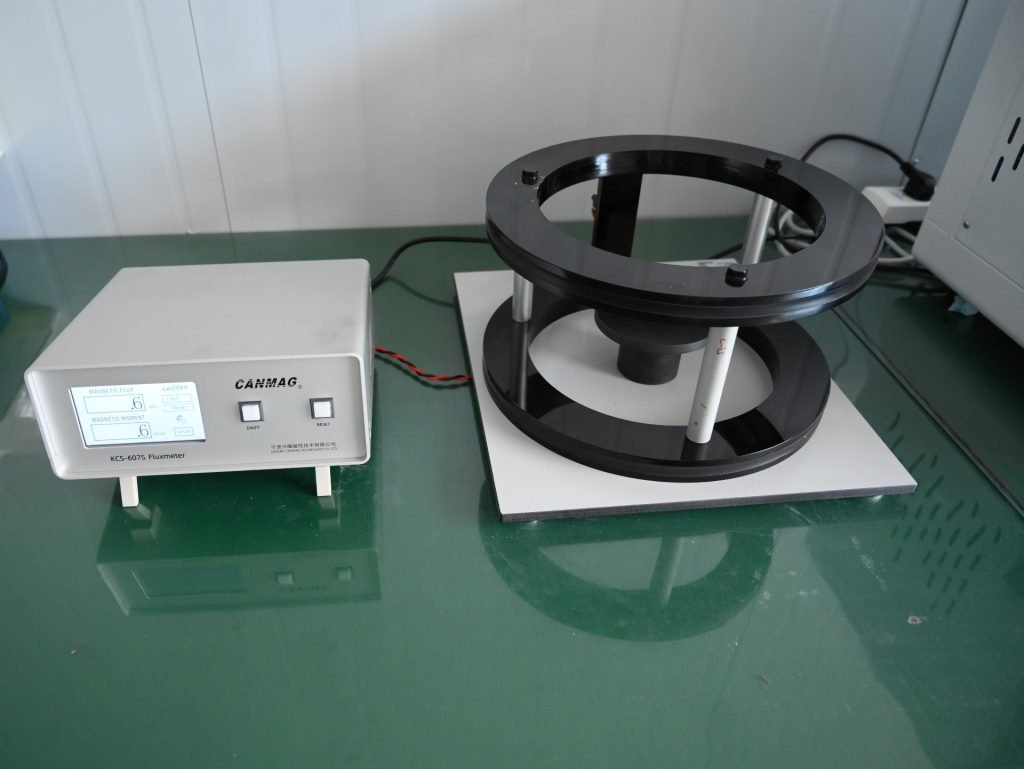 Flux testing. One value per batch, traced back to the box.
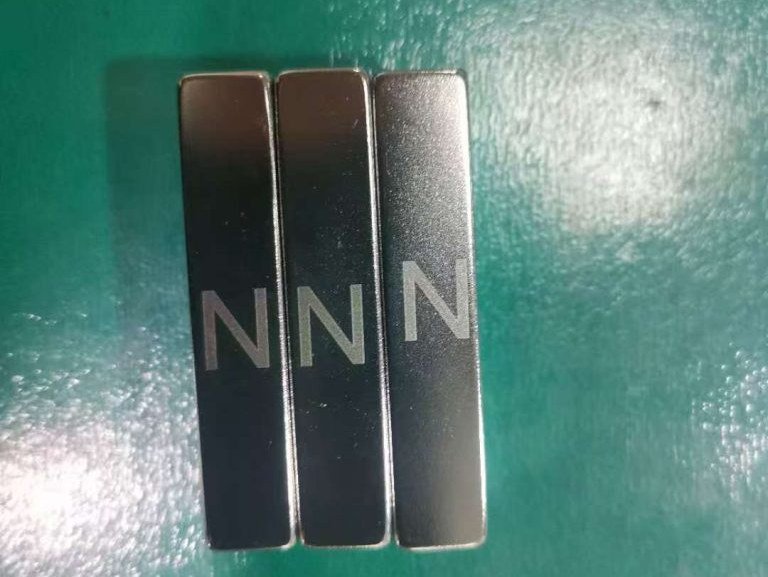 Laser-marked N pole. The part tells assembly which way it goes.
The traceability behind those checks is the part buyers rarely ask about and later wish they had. A batch number should lead back to the flux record, the coating report and the raw material lot. We keep that chain for every order, and it is documented on the quality and safety page.
What Arrives in the Box
Parts ship magnetised unless you ask otherwise, separated with shielding so that a pallet does not become one large lump, and packed so that corners are not the first thing to meet a steel surface. If you want to assemble them unmagnetised, say so on the order rather than after the parts are finished.
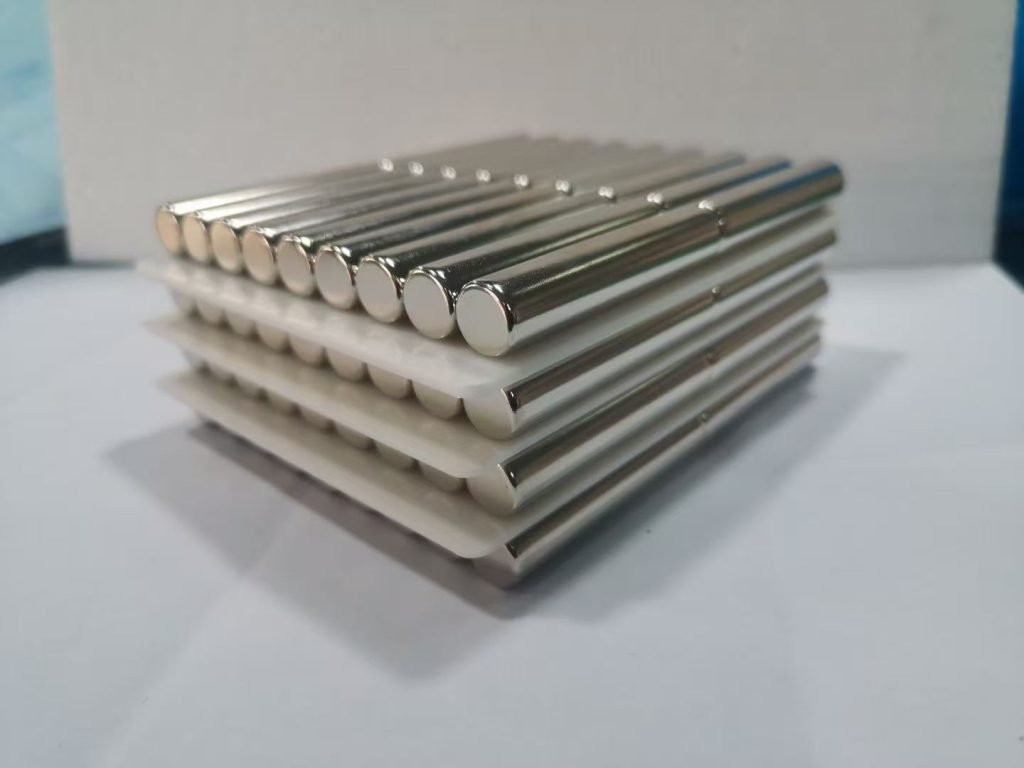 Separators between layers, so a pallet is not one lump.
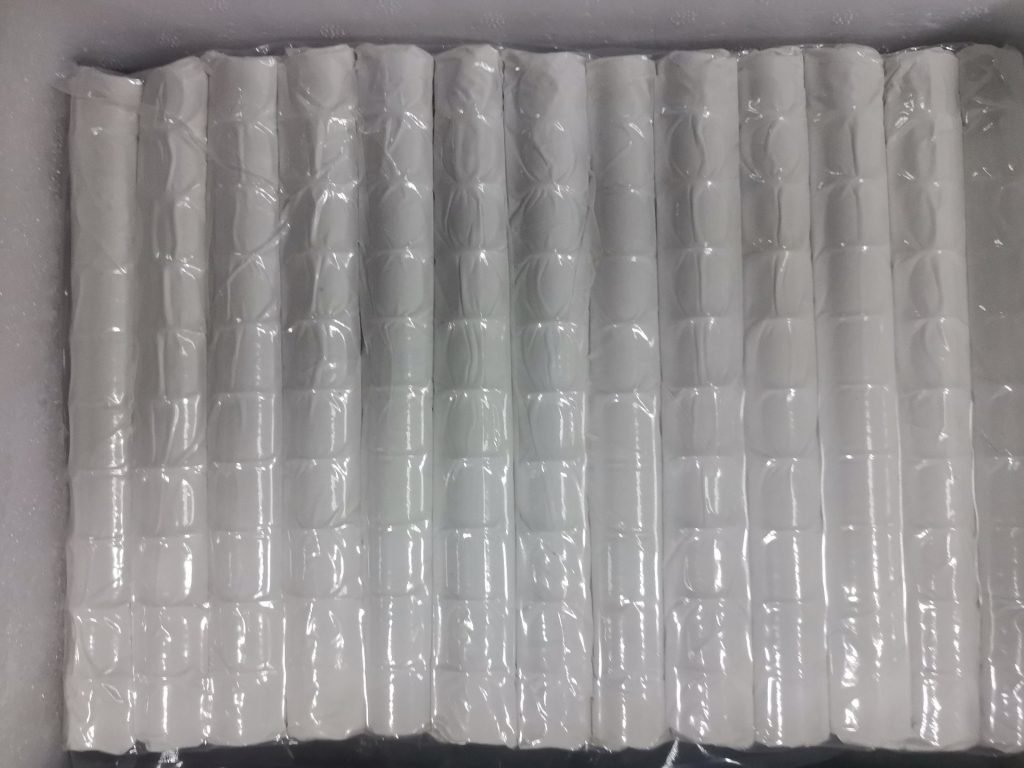 Vacuum packing for parts that need extra protection in transit.
If you want to see the equipment behind these steps rather than read about it, the plant and equipment page runs through the shop floor, and Manufacturing Process collects the rest of our process notes.
Frequently Asked Questions
Can I get a first-article report before the production run?
Yes, and it is worth asking for. A first article shows measured dimensions, flux and coating thickness on a real part before the batch is made. That is the cheapest moment at which to change the drawing.
Why is the flux measured on my part lower than the datasheet Br?
Br is a material property. For the same composition, the same grain alignment and the same sintering process, it does not change with the shape of the part. What changes is the working point. A part standing on its own carries a self-demagnetising field, and that field pulls the working point down the demagnetisation curve. The figure you read on the part is the working point, not Br. The datasheet value comes from a closed circuit on a standard test piece, which is why it is higher.
Can a magnet be machined after it is magnetised?
It can, but it is planned rather than routine. Swarf and grinding debris stick to a charged part, and a heavy pass puts heat into it. Where the size decides the sequence, we charge the parts before assembly instead. A very large magnet is easier to magnetise before it is fitted, because no fixture fits around it in the machine. A very small magnet is charged in bulk and then placed, which is faster and cheaper. Both need trained operators.
What happens if a batch fails one of the four checks?
The batch does not ship. Each one keeps its flux record, coating report and material lot number, so a failure can be traced back to the step that caused it. If the parts have already reached you, that record is what makes the re-check quick.
Want the Process Route for Your Part?
Send the drawing with the dimension and the temperature that actually matter. We will come back with the route, the tolerance we can hold, and the coating that fits the environment.
Send Your Drawing