How the Magnet Production Process Runs
The magnet production process runs in two stages. The blank comes first. Then the blank is cut, finished, coated, magnetised and inspected to your drawing. A long-standing partner factory makes the blank. Everything after that runs in our own workshop.
Stage 1: The Blank
A blank starts as raw material and ends as a sintered block. This stage sets the magnetic properties. It cannot be changed later.
- Melting and alloying
- Jet milling to fine powder
- Pressing in a magnetic field
- Vacuum sintering and heat treatment
We inspect every blank when it arrives. Grade, flux and dimensions are checked before we cut anything.
Stage 2: Cutting and Finishing
This is the part we control directly. Seven steps take the blank to a finished part.
| Step | What happens | Why it matters to you |
|---|---|---|
| 1. Multi-wire slicing | 25 wire saws cut the blank into discs, blocks, rings and arcs. Two small saws are kept free for samples. | About 1 tonne of material per day, so large orders do not stall at the first step. |
| 2. Chamfering | 8 chamfering machines and 10 tumbling machines take the sharp edges off. | Sharp edges chip in coating and in your assembly line. |
| 3. Double-side grinding | 4 machines grind both faces at once. | This is where thickness and parallelism are held. |
| 4. Profile cutting | 18 machines cut arc and tile segments to the radius on your drawing. | Motor and generator segments live or die on this step. |
| 5. Coating | Zinc, nickel, epoxy and other finishes. | The finish has to survive your working environment. |
| 6. Magnetisation | 1 automatic magnetiser, 4 magnetisers and 1 loose-piece magnetiser. | Direction and pole pattern are set here, not earlier. |
| 7. Inspection | Three checkpoints: incoming blank, after slicing, after coating. | Problems get caught before packing, not after arrival. |
Capacity at Each Stage
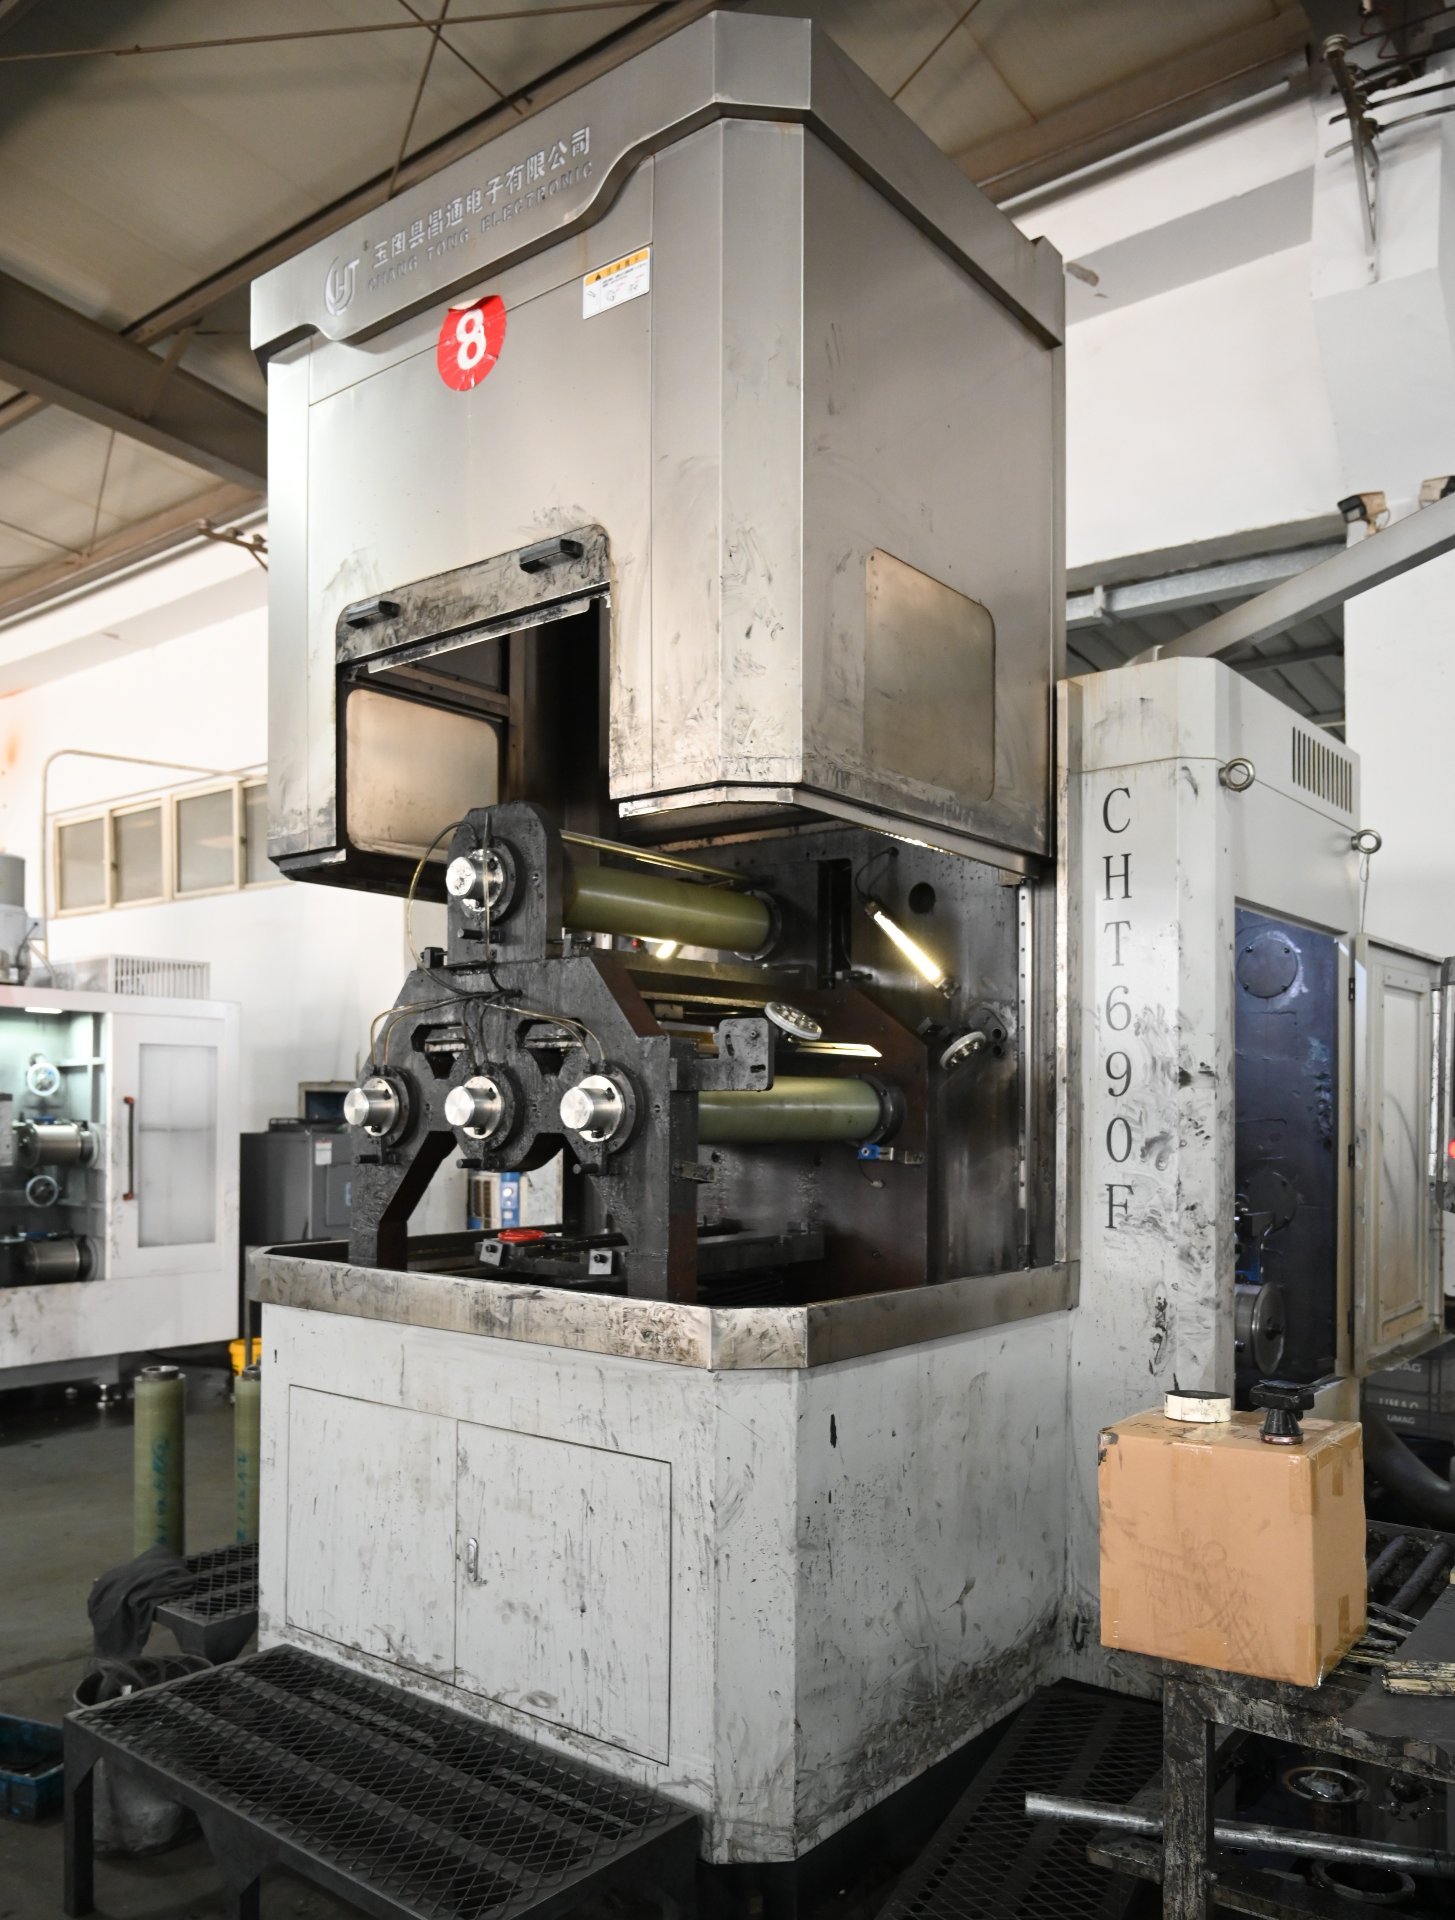
The numbers below are the machines we run. They matter because a bottleneck at any one step sets the lead time for the whole order. In a magnet production process, one slow step sets the pace for everything else.
| Stage | Equipment | Units |
|---|---|---|
| Slicing | Multi-wire saw | 25 |
| Slicing (samples) | Small multi-wire saw | 2 |
| Chamfering | Chamfering machine | 8 |
| Chamfering | Tumbling machine | 10 |
| Grinding | Double-side grinder | 4 |
| Profile cutting | Arc and tile cutting machine | 18 |
| Magnetisation | Automatic magnetiser | 1 |
| Magnetisation | Magnetiser | 4 |
| Magnetisation | Loose-piece magnetiser | 1 |
Sampling and Lead Time
Sampling takes about 15 days from a confirmed drawing. Straightforward parts can be done in a week. Parts with complex profiles or tight tolerances may take up to 20 days. We quote 15 days because we would rather beat a date than miss it.
When your specifications can affect the schedule, we tell you the constraint before you order. That includes coating choice, tolerance class and magnetisation pattern.
Where to Go Next
See the equipment list for the machines behind each step, or Quality & Safety for the three inspection points.
Start the Conversation
Send a drawing, a 3D file or a sample. We come back with questions, a proposal or a quote, whichever helps most at that stage.